I’M NOT THE most talented gardener in the world. I’m not one of those mad geniuses who has a garden full of thriving plants that shouldn’t be able to grow in my Zone. But I do have one skill that does more than anything to save my rock garden: propagation.
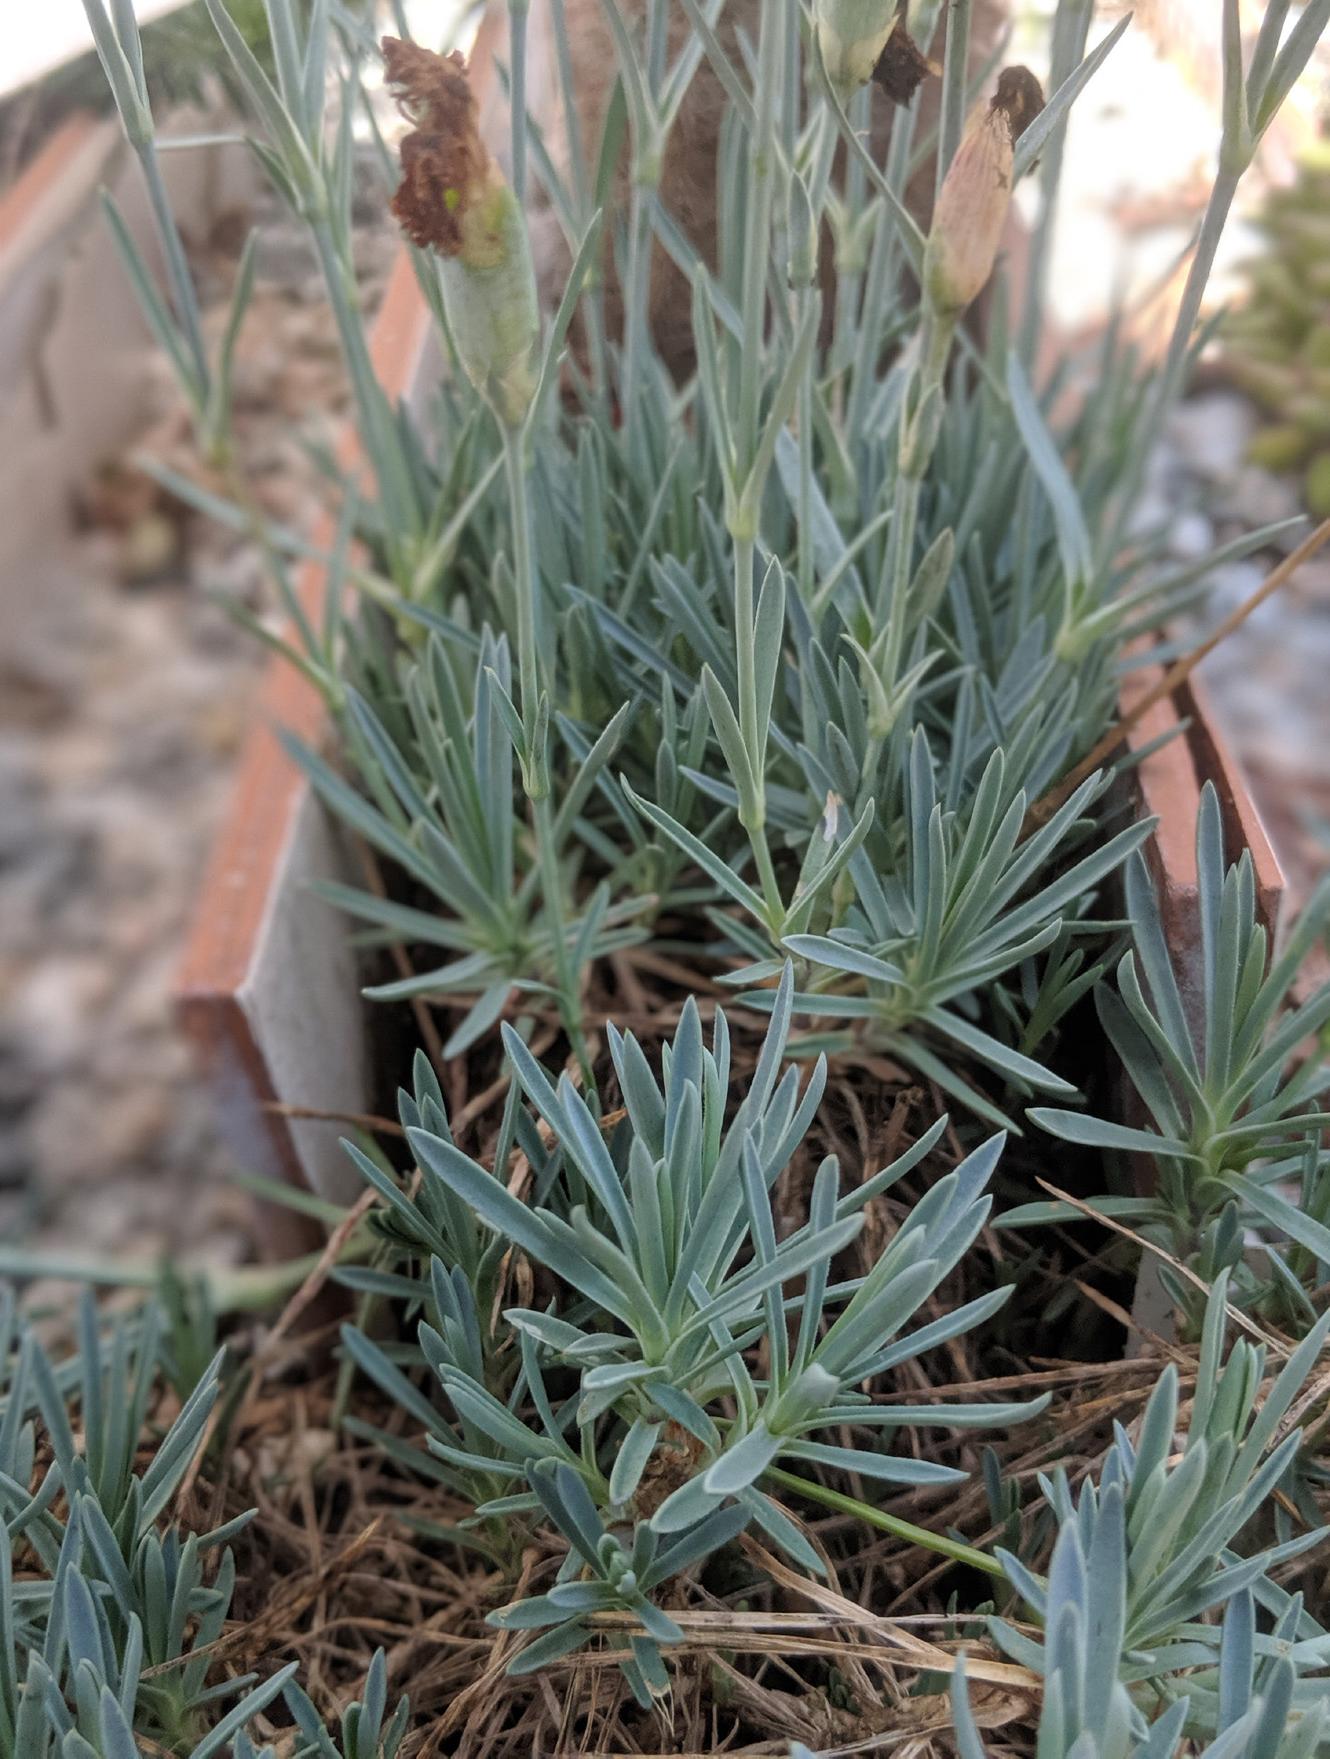
Growing from seed is essential to my garden because I can acquire all sorts of interesting plants from the NARGS seed exchange and elsewhere. Seed allows me to grow large numbers of plants at virtually no expense, and provides useful genetic variance. For example, going into last winter I had about two dozen Aloe striatula (Syn. Aloiampelos striatula) seedlings in the rock garden. As of this spring, I have three left. The three hardiest individuals, presumably, which is only a good thing.
But maybe even more important than starting plants from seeds is rooting cuttings. Being able to grow plants from cuttings means that when I do get an exceptional plant in a batch of seedlings, I can make more of it. I can produce backups of favorite plants so that if one bites the dust, I have a supply of new ones to replace it. I can propagate rarities and give them to friends as gifts, which, selfishly, means that if I lose something, I can beg a piece back. And, finally, when I visit gardens, I often come home with some cuttings in a bag that I can then root and grow in my own garden.
So if you don’t grow from cuttings, I think you should. As a beginning gardener, I found rooting cuttings very difficult. But what I’ve learned over time propagating at home and in various professional settings is that successfully rooting cuttings depends less on the skill of the person taking the cuttings, and more on having the right equipment for the job. And after a lot of trial and error, I’ve found a simple, inexpensive setup at home that works great for me.
But first, some biology. Any discussion of rooting cuttings has to start with the word totipotent. Plant cells are “totipotent,” which means that any given cell can, under the right conditions, divide and give rise to any other type of cell. This is unlike the cells in our bodies. Human skin cells can only produce more skin cells and muscle cells, more muscle cells. This is why we can’t grow a new finger if we cut one off, but when we take a piece of a plant and put it in the right conditions, the cells in the stem can divide and produce roots. First, the cells have to dedifferentiate, producing generic cells called callus, and then those cells divide to produce differentiated root cells. There are a few ways that the details of this process matter for the practical process of rooting cuttings.
First, the process of dividing and growing these new cells takes time and energy. The details vary by the particular plant and a host of other factors, but while the cells are shifting into their new forms, the cutting needs to avoid drying out despite not having any roots, and it needs to be able to photosynthesize to produce the energy to grow those new roots.
Second, though all plant cells are, in theory, totipotent, not all parts of the plant will actually be able to grow roots. While a handful of plants can grow roots from detached leaves, most require a stem with leaves attached, and with few exceptions, new, soft, tender growth can grow roots faster and easier than older, more mature, hardened growth.
Third, plant hormones regulate the process of cells switching from one type to another. Plants produce many hormones naturally, and actively growing stems produce hormones that travel down the stem and promote root growth, while actively growing roots produce hormones that travel up the stem and promote top growth. In an intact plant, this helps keep roots and shoots in balance. When rooting cuttings, this is one of the reasons cuttings from the tips of growing plants generally root the fastest, and we can amplify these effects by using artificial rooting hormones to speed up the root growing process.
These facts leave us with a few contradictory requirements for successfully rooting cuttings. Young, tender, actively growing shoots root the fastest and easiest, but they also are the most prone to drying out and dying before those roots get up and running. Cuttings also need light to photosynthesize and grow roots, but that same light will speed up cuttings drying out.
Rooting cuttings is a balancing act. If you search for a name of a plant and the word “propagation” or “cuttings,” you’ll often turn up information on whether to try to root them as softwood (softest, newest growth) hardwood (hard, mature growth) or semi-hardwood cuttings (in between). This is a matter of finding the sweet spot for each species between ease of rooting and not wilting and dying before those roots get going. For virtually everything in my rock garden, I take tip cuttings of new growth, whether from shrubby things like daphnes or herbaceous plants like dianthus. I start with new growth that is still tender but not completely soft, and that usually works. If I have trouble rooting a particular plant, I like to take a few cuttings every week or two, taking notes as I go, so I can find the best stage of development for that particular plant.
The other issue – giving cuttings enough light while not letting them dry out – has been the biggest challenge for me as a home gardener. When I was new to gardening, I tried putting cuttings in plastic bags on windowsills, or draping plastic wrap over pots of cuttings, and had very little success. The plastic worked to keep moisture in, but also acted like a greenhouse, roasting the cuttings if they got enough light.
Then I went to college and met my first mist bench. Professionals root their cuttings on a bench with fine nozzles that spray the cuttings on a regular schedule. The constant mist keeps the cuttings hydrated and cool while they soak up the sunshine required to root.
Mist systems make rooting cuttings easy, but they’re not really practical at home. Most of us don’t have a greenhouse, let alone one big enough to dedicate a space to a mist system. Mist systems are also fairly expensive and require regular maintenance as the fine mist nozzles are prone to clogging or breaking.
However, in the past few years, I’ve settled on a technique that works well for me, with very little expense, space, or effort.
The first part of my system for rooting cuttings is LED lights. I use cheap, white, LED shop lights from the hardware store, but if you want you can buy the fancy red-and-blue ones specific for growing plants. I’ve had great results from both, and much prefer the affordability, white light color, and convenience of the LED shop lights. LEDs are my first choice because they are incredibly energy efficient, producing the right wavelengths of light for photosynthesis with very little heat. Cuttings in the sun can easily bake. Cuttings under LEDs stay cool. I use the same LEDs to start seeds in the spring, and once the seeds are out, shift them over to cutting duty. These lights help me produce a steady stream of new plants, and thanks to the energy efficiency of LED lights, cost me very little to run.
To keep my cuttings moist, I used to use resealable plastic bags, and they work, but they’re a giant pain. They are awkward to fill with soil, hard to stick the cuttings in, fall over, collapse onto the leaves and promote rot, and don’t work very well. Now I use a very high-tech solution. I go to the dollar store and buy the disposable aluminum baking pans that come with a clear plastic cover. They cost all of a dollar, and they work great. I stick the cuttings in baking pan, place the plastic cover over, and have a perfect little terrarium to keep the cuttings from drying out, no mist system required. Once I stick the whole thing under the lights, my cuttings root like a charm.
I have used regular potting media to root my cuttings, and that certainly works – I still use it sometimes – but now I prefer to fill my rooting pans with pure vermiculite. It is light, holds a lot of water, and ideally, it is nearly sterile. The 100% humidity in the container is prime habitat for rots and molds, but I find I have far fewer problems when I use vermiculite than when I use potting soil. I’ve used pure perlite also and had pretty good results with it as well.
I use rooting hormones on all my cuttings. There is a lot of research into the best hormones to use for different plants. The exact amount and balance that is best for each plant varies, and some people swear by liquid over powder, but I just buy powdered rooting hormone at the garden center, dip everything in it, and get good results. Rooting hormone is absorbed best through freshly cut or wounded surfaces on the cutting, so I dip the cuttings in the hormone immediately after pulling leaves off and trimming the base of the stem.
Here’s my actual process for rooting cuttings.
For most alpine and rock garden plants, the best time to take cuttings is early summer when they are pushing new growth. Avoid taking cuttings immediately before plants flower, as flower buds will sap much-needed energy away from growing roots. If you can’t find cuttings without flowers, pinch the buds out as early as you can. Ideally, take cuttings first thing on a cool morning, when the plants are fully hydrated. If the weather has been dry, watering thoroughly the night before can help as well.
Fill your container with a layer of vermiculite, perlite, or potting medium. Add water until it is thoroughly moistened, but not to the point that water runs out the bottom. Keep some dry medium on hand to mix in if you accidentally make it too soggy.
Take cuttings from the tip of new growth, and cut them long enough that you can remove a couple of leaves from the bottom of the cutting while still leaving several at the tip to photosynthesize. For plants with very large leaves (not usually an issue in the rock garden), leave just one or two leaves on the plant, and cut them in half to reduce water loss.
Bring the cuttings to a comfortable seat at a table. Have rooting hormone in a small dish or container, and your tray filled with moistened medium on hand. If possible, work indoors or in the shade, so that your delicate cuttings aren’t roasting in the sun while you work.
Trim the stem of each cutting to immediately below the lowest leaf, and pull or cut off a few of the lower leaves. With some plants, leaves will pull off easily and cleanly. With others, like dianthus, if you try and pull off the leaves you will end up snapping off the bottom of the stem as well, so you will need a sharp blade to cut the leaves off. A sharp knife, razor blade, or craft knife all work well.
Dip the bottom of the cutting in rooting hormone, shake off any excess hormone powder, and insert it into the moistened medium. Continue with the rest of the cuttings, add a label with their name and the date, cover with the clear plastic dome, and stick under your lights.
Then you wait. Some plants will root as quickly as one or two weeks, others will take longer. Check the cuttings every week or so, and pull out any that have turned brown or rotted. Promptly removing any dead plant material from the cutting tray will reduce the chances that a rot or mold will spread to the other cuttings.
You can test and see if a cutting has rooted by gently lifting it up out of the rooting medium. If you use a light-weight medium like vermiculite or perlite, you have little chance of damaging baby roots while pulling the cutting out. If you use a heavier, peat-based potting medium, it is best to stick your hand down into the media and lift from below to avoid damaging new roots.
Once the cuttings have a nice crop of roots, pot them up individually, and keep them in a bit of shade and constantly moist while they adjust to life outside the humid bubble of your propagation trays.
The last step is to write down what you did and how successful you were. Snap some pictures of what the plant looked like when you took the cuttings and record when you cut them and how many rooted. Over time, those records will be invaluable as you learn just the right time to cut each plant for the maximum rooting.
This is by no means the only way to successfully root cuttings, but it is a technique that has worked very well for me with minimal expense or effort. I hope you’ll give it a try, and if you have had success with a different method, please write in a letter to the editor (send to [email protected]) so we can share your techniques with the rest of the NARGS community.